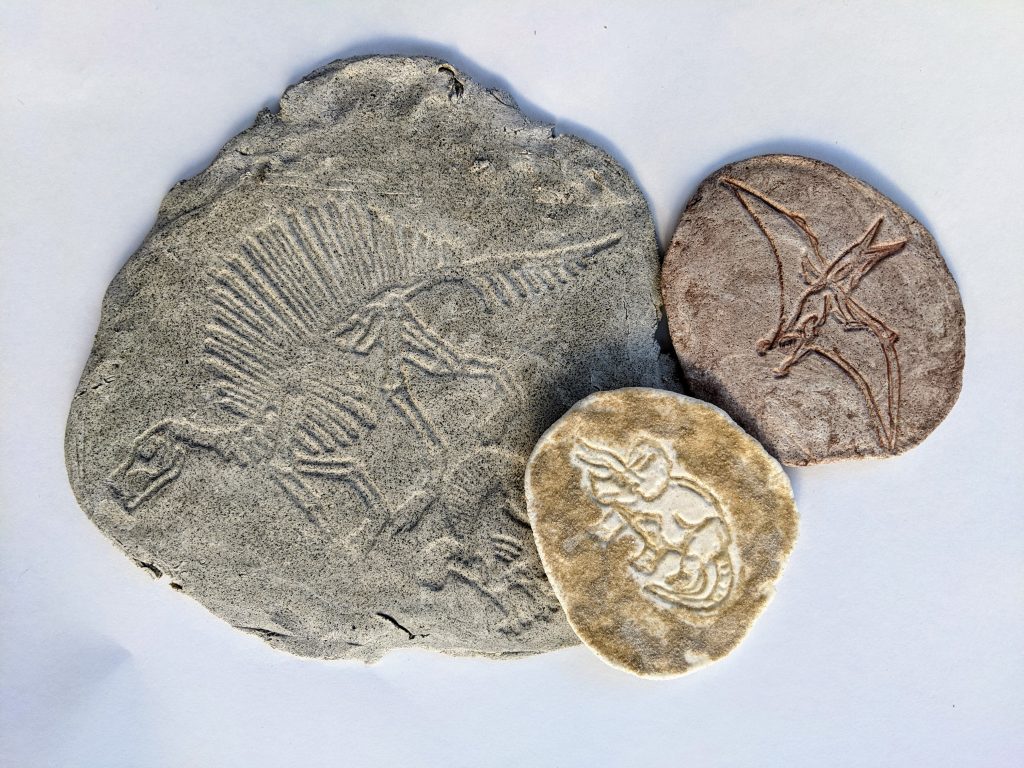
Rubbing Plate Activities
Have you ever used rubbing plates before? Rubbing plates are double sided plastic plates, with each side producing somewhat different effects. They can be used as texture for a variety of techniques, including rubbings with paint sticks, transfer crayons or watercolour. Foiling, gelatin prints, impressions in clay and more.
They can be a great way to extend a child’s exploration of topics in zoology, botany & paleontology. They provide so many open-ended play opportunities in the classroom and at home.
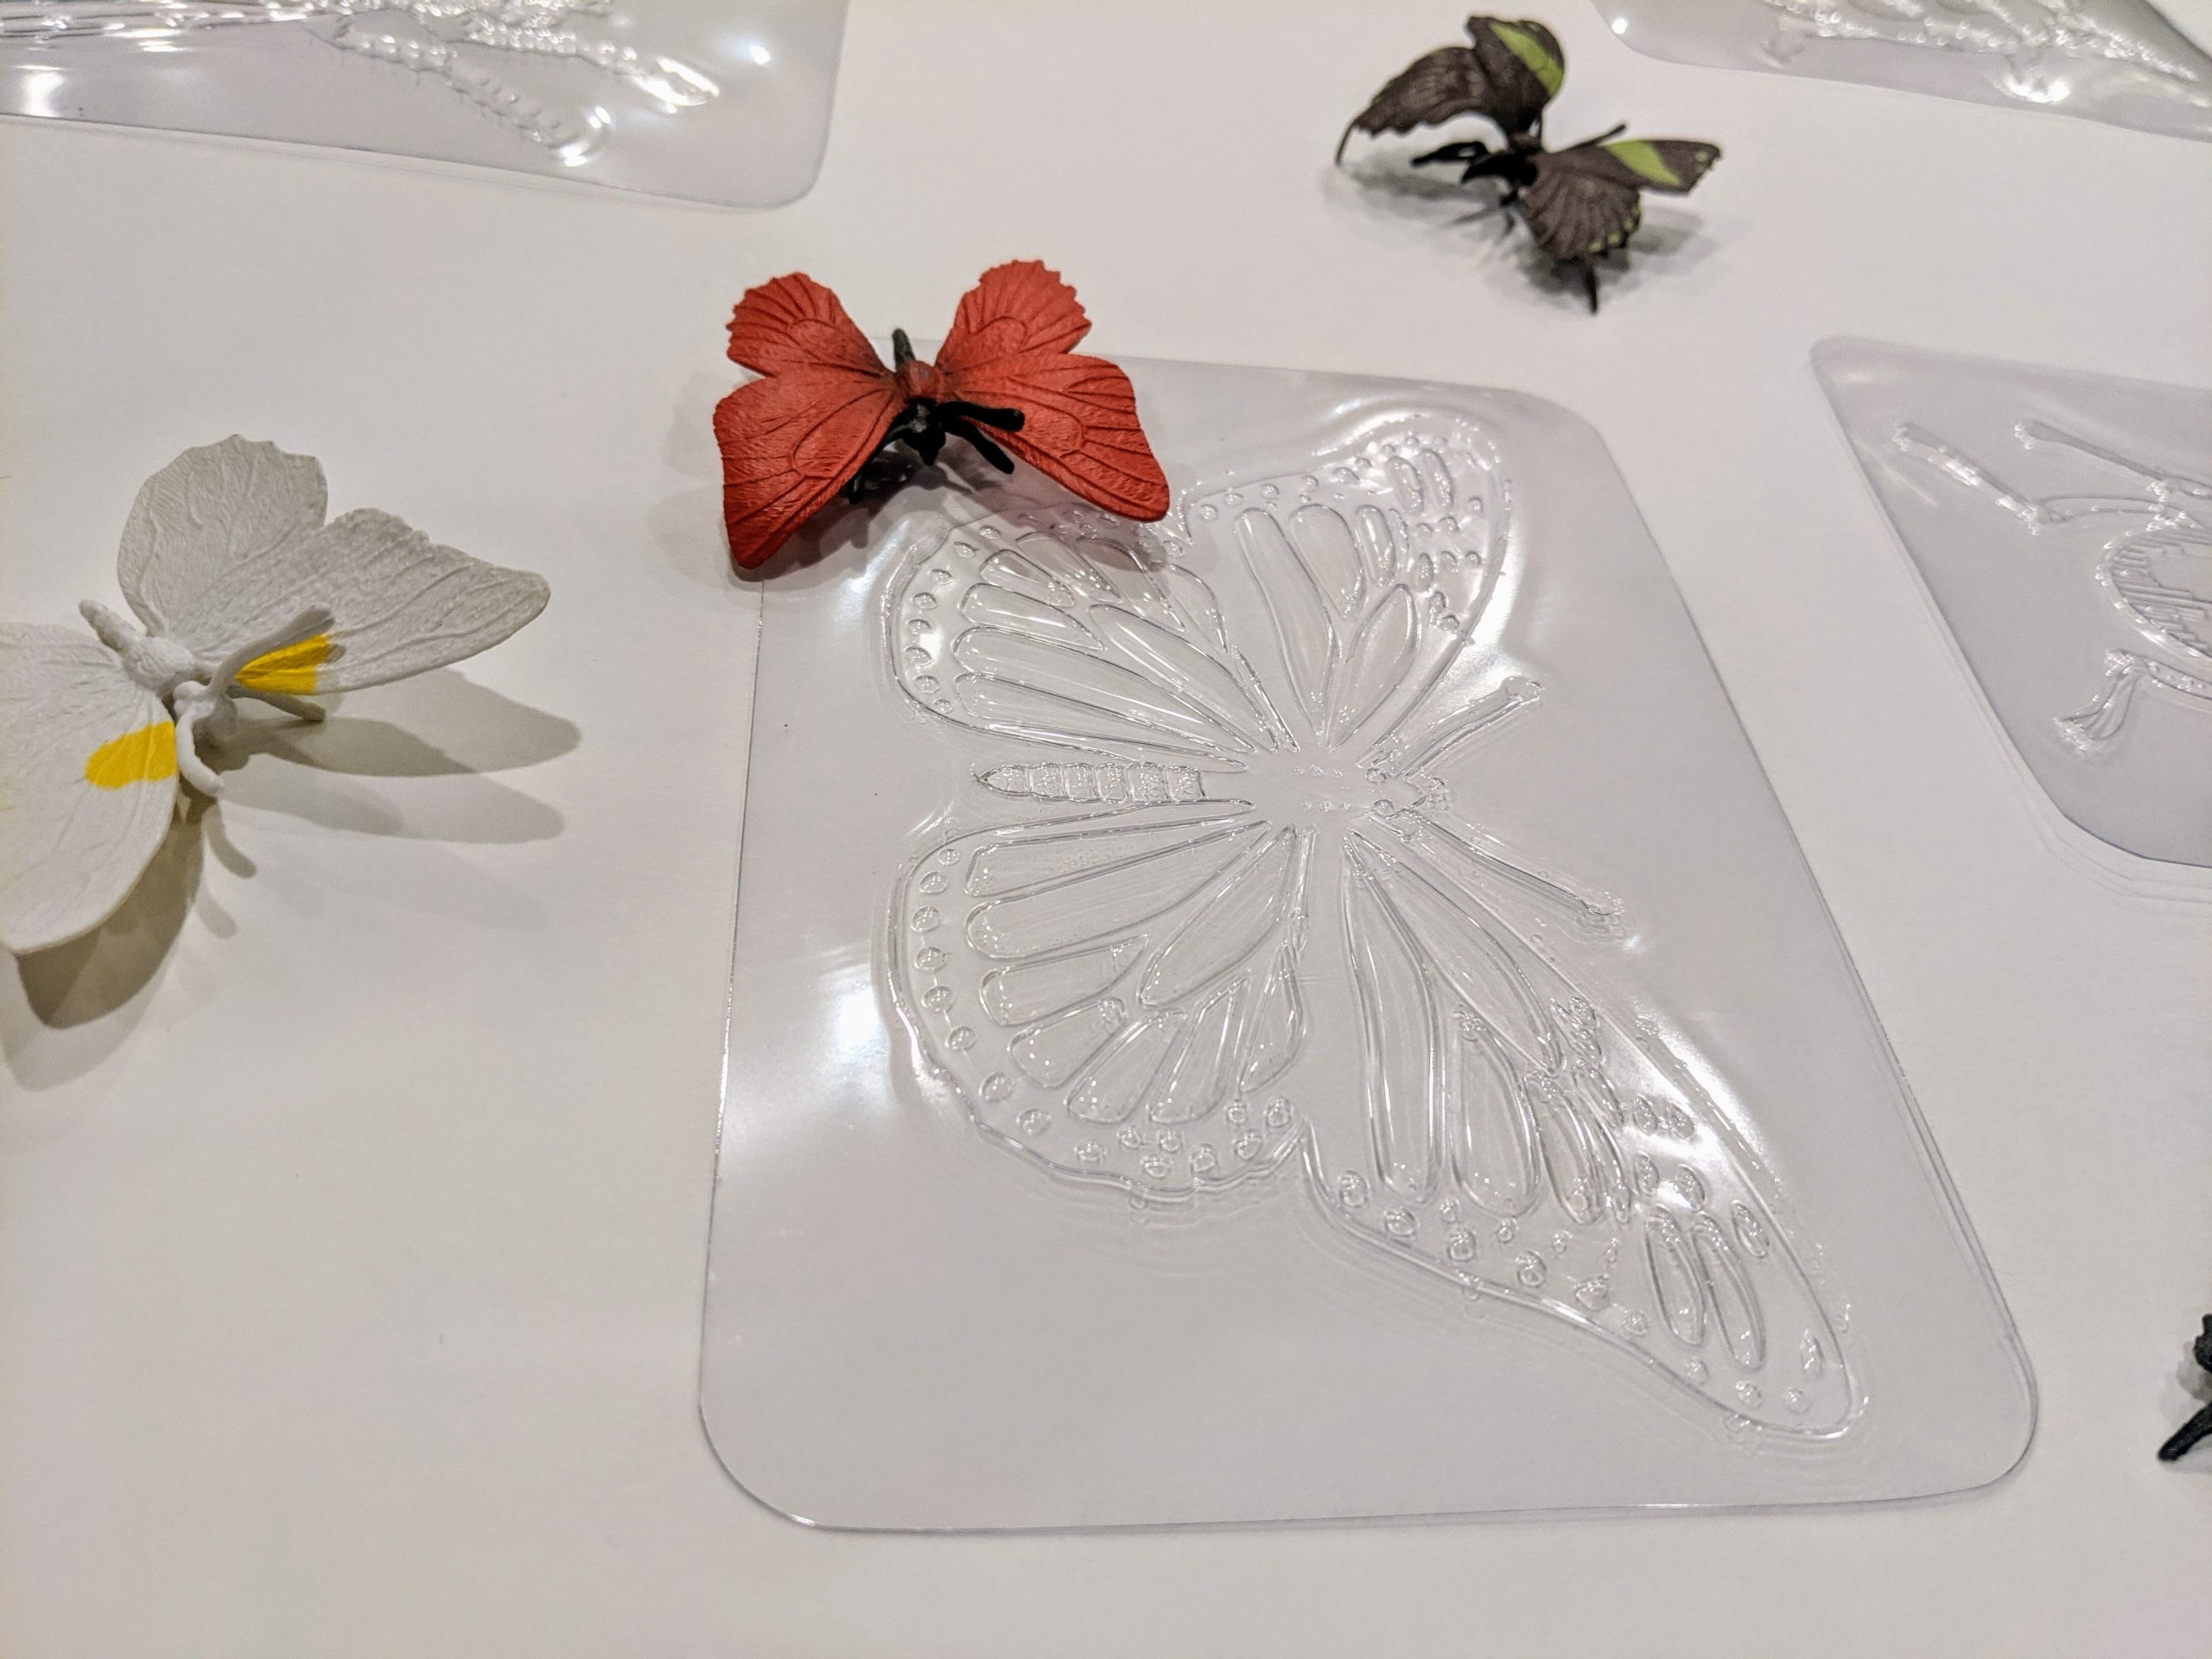
One of the most common ways to use rubbing plates is to turn a crayon sideways (pincer grip) or to use crayon rocks (tripod grip) and rub the crayon over the rubbing plate to reveal the image underneath.
Pre-reading skill building
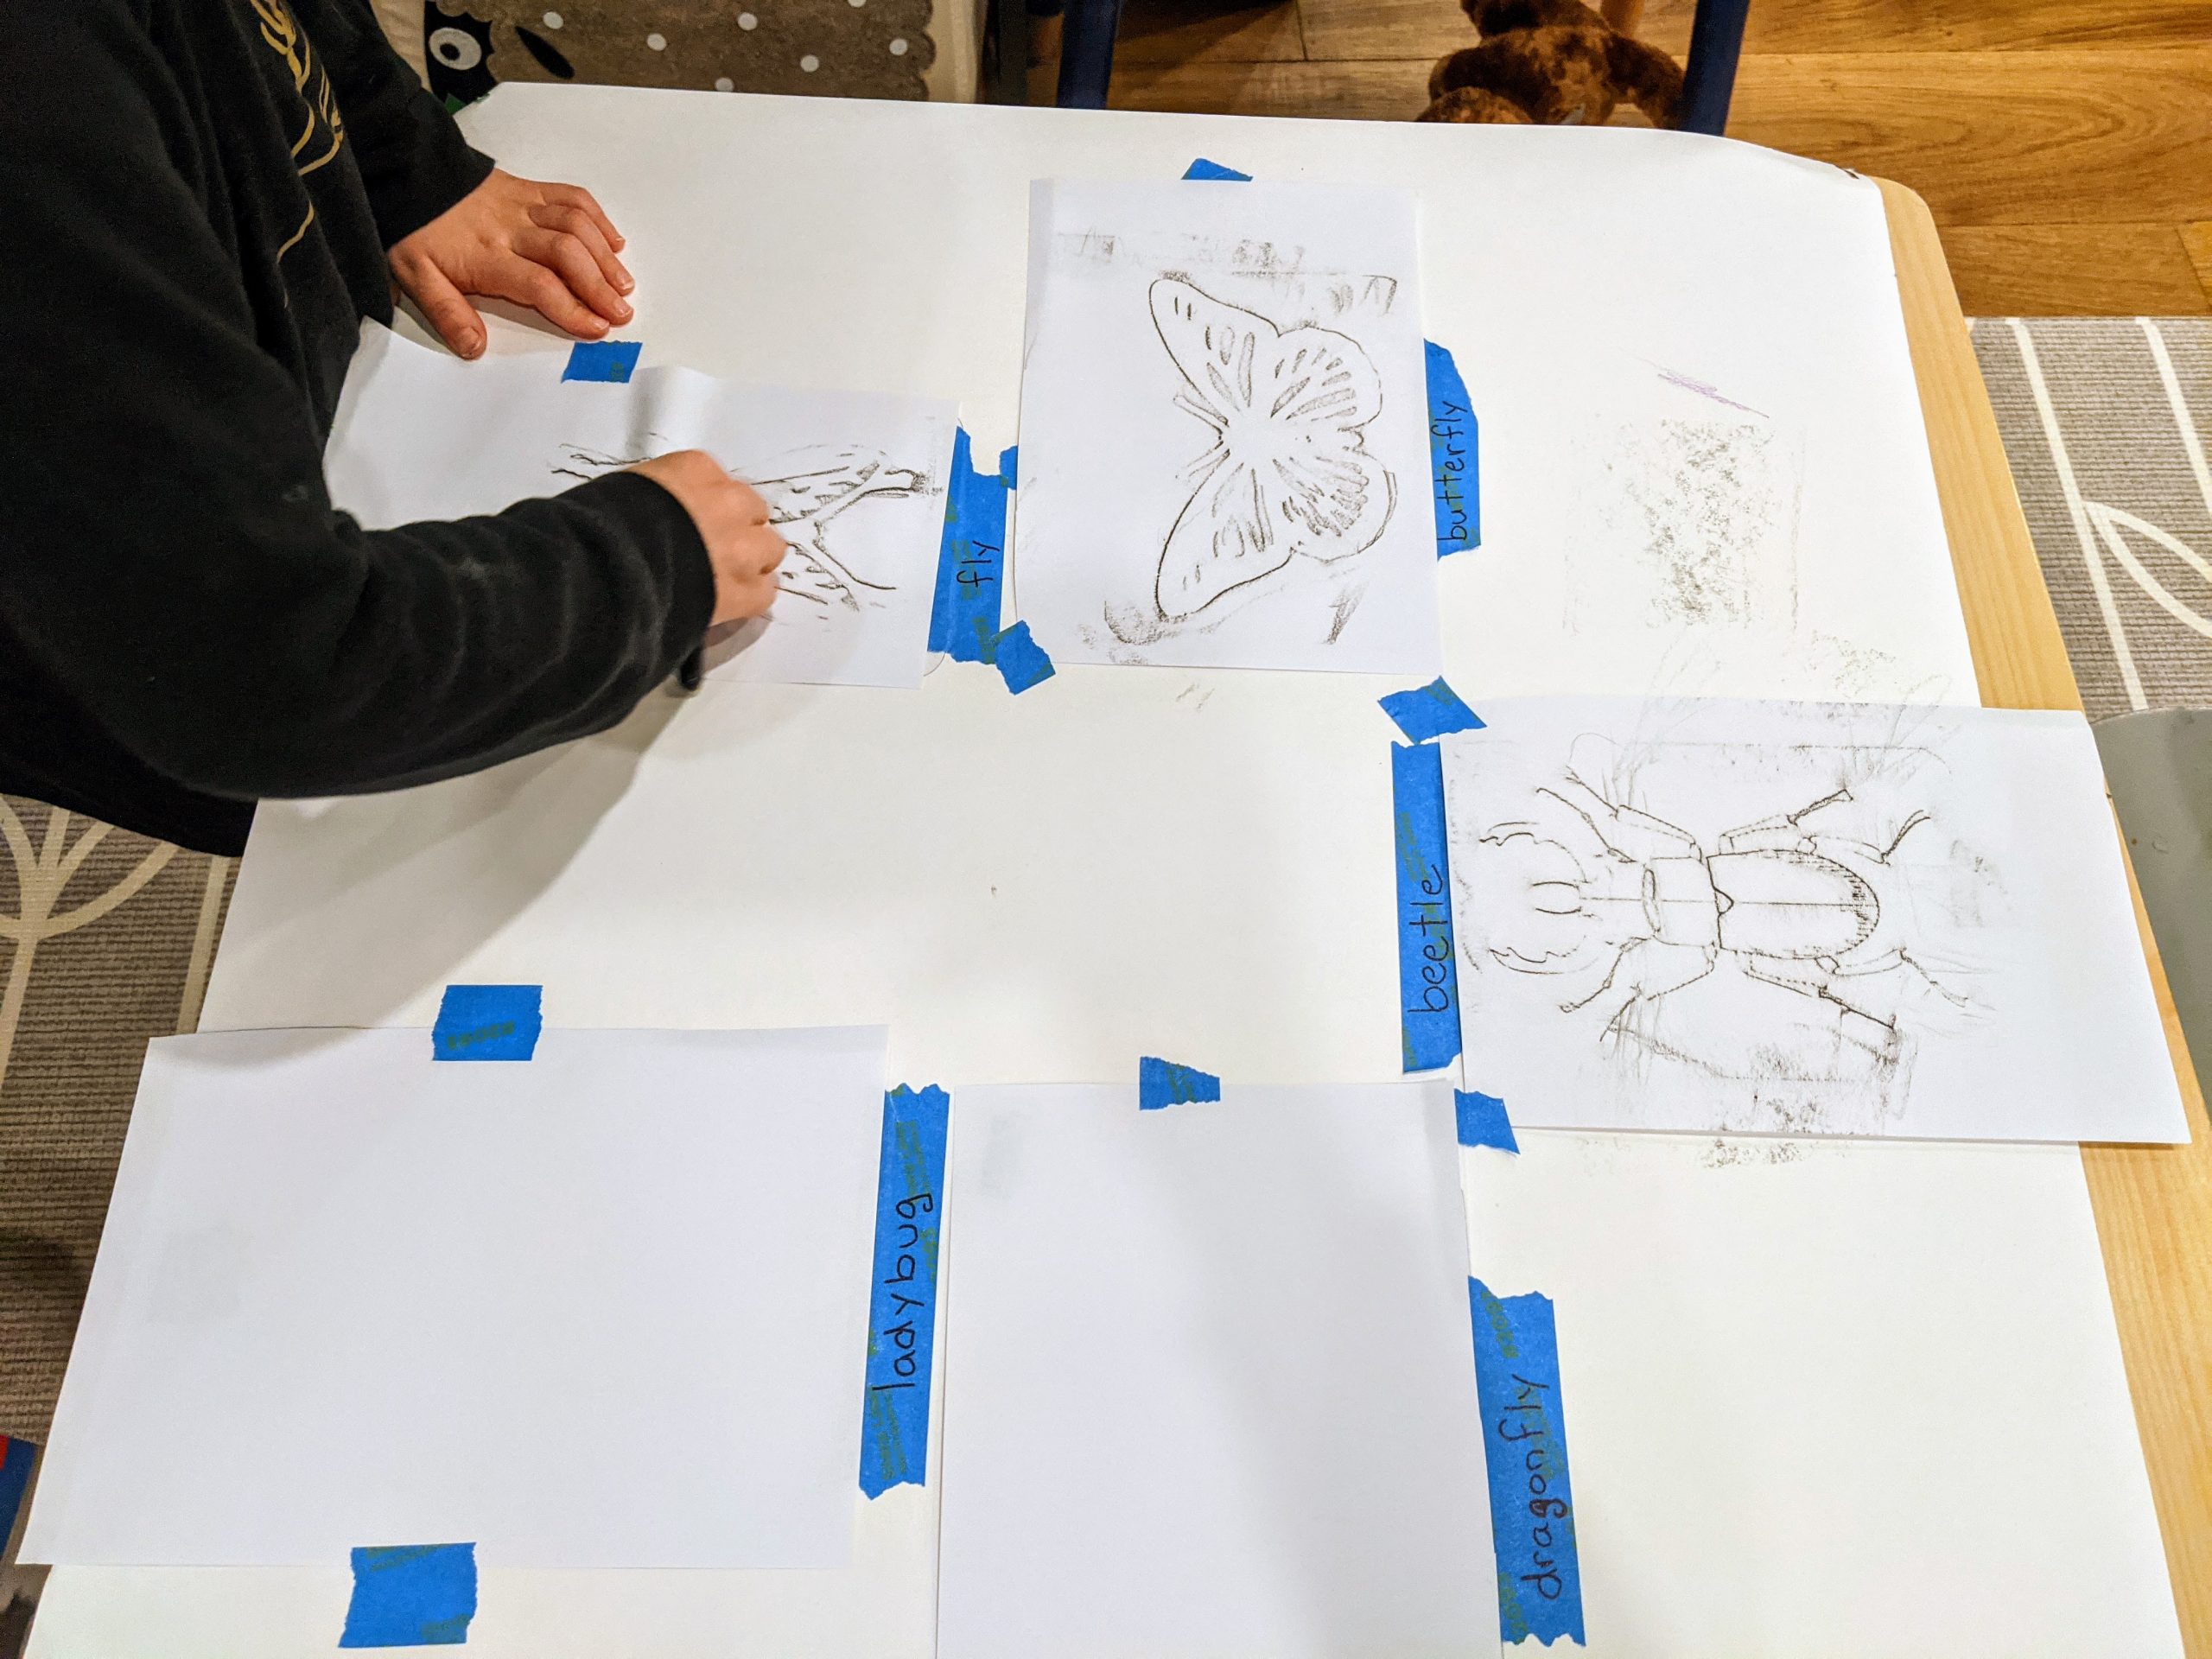
One way we extended our activity was to include some pre-reading skills. For young children who know the sounds of individual letters, we stuck the stencils down using painter’s tape and then covered the stencils with a sheet of paper. We used more tape to print in small letters the word of the insect underneath.
The children then had a guess one by one of what insects they could guess that started with the letter ‘b’. Beetle and butterfly were both guessed. Crayon in hand, they rubbed and slowly revealed the insect underneath. Lots of squealing excitement for the big reveal!
Love-Bug valentines
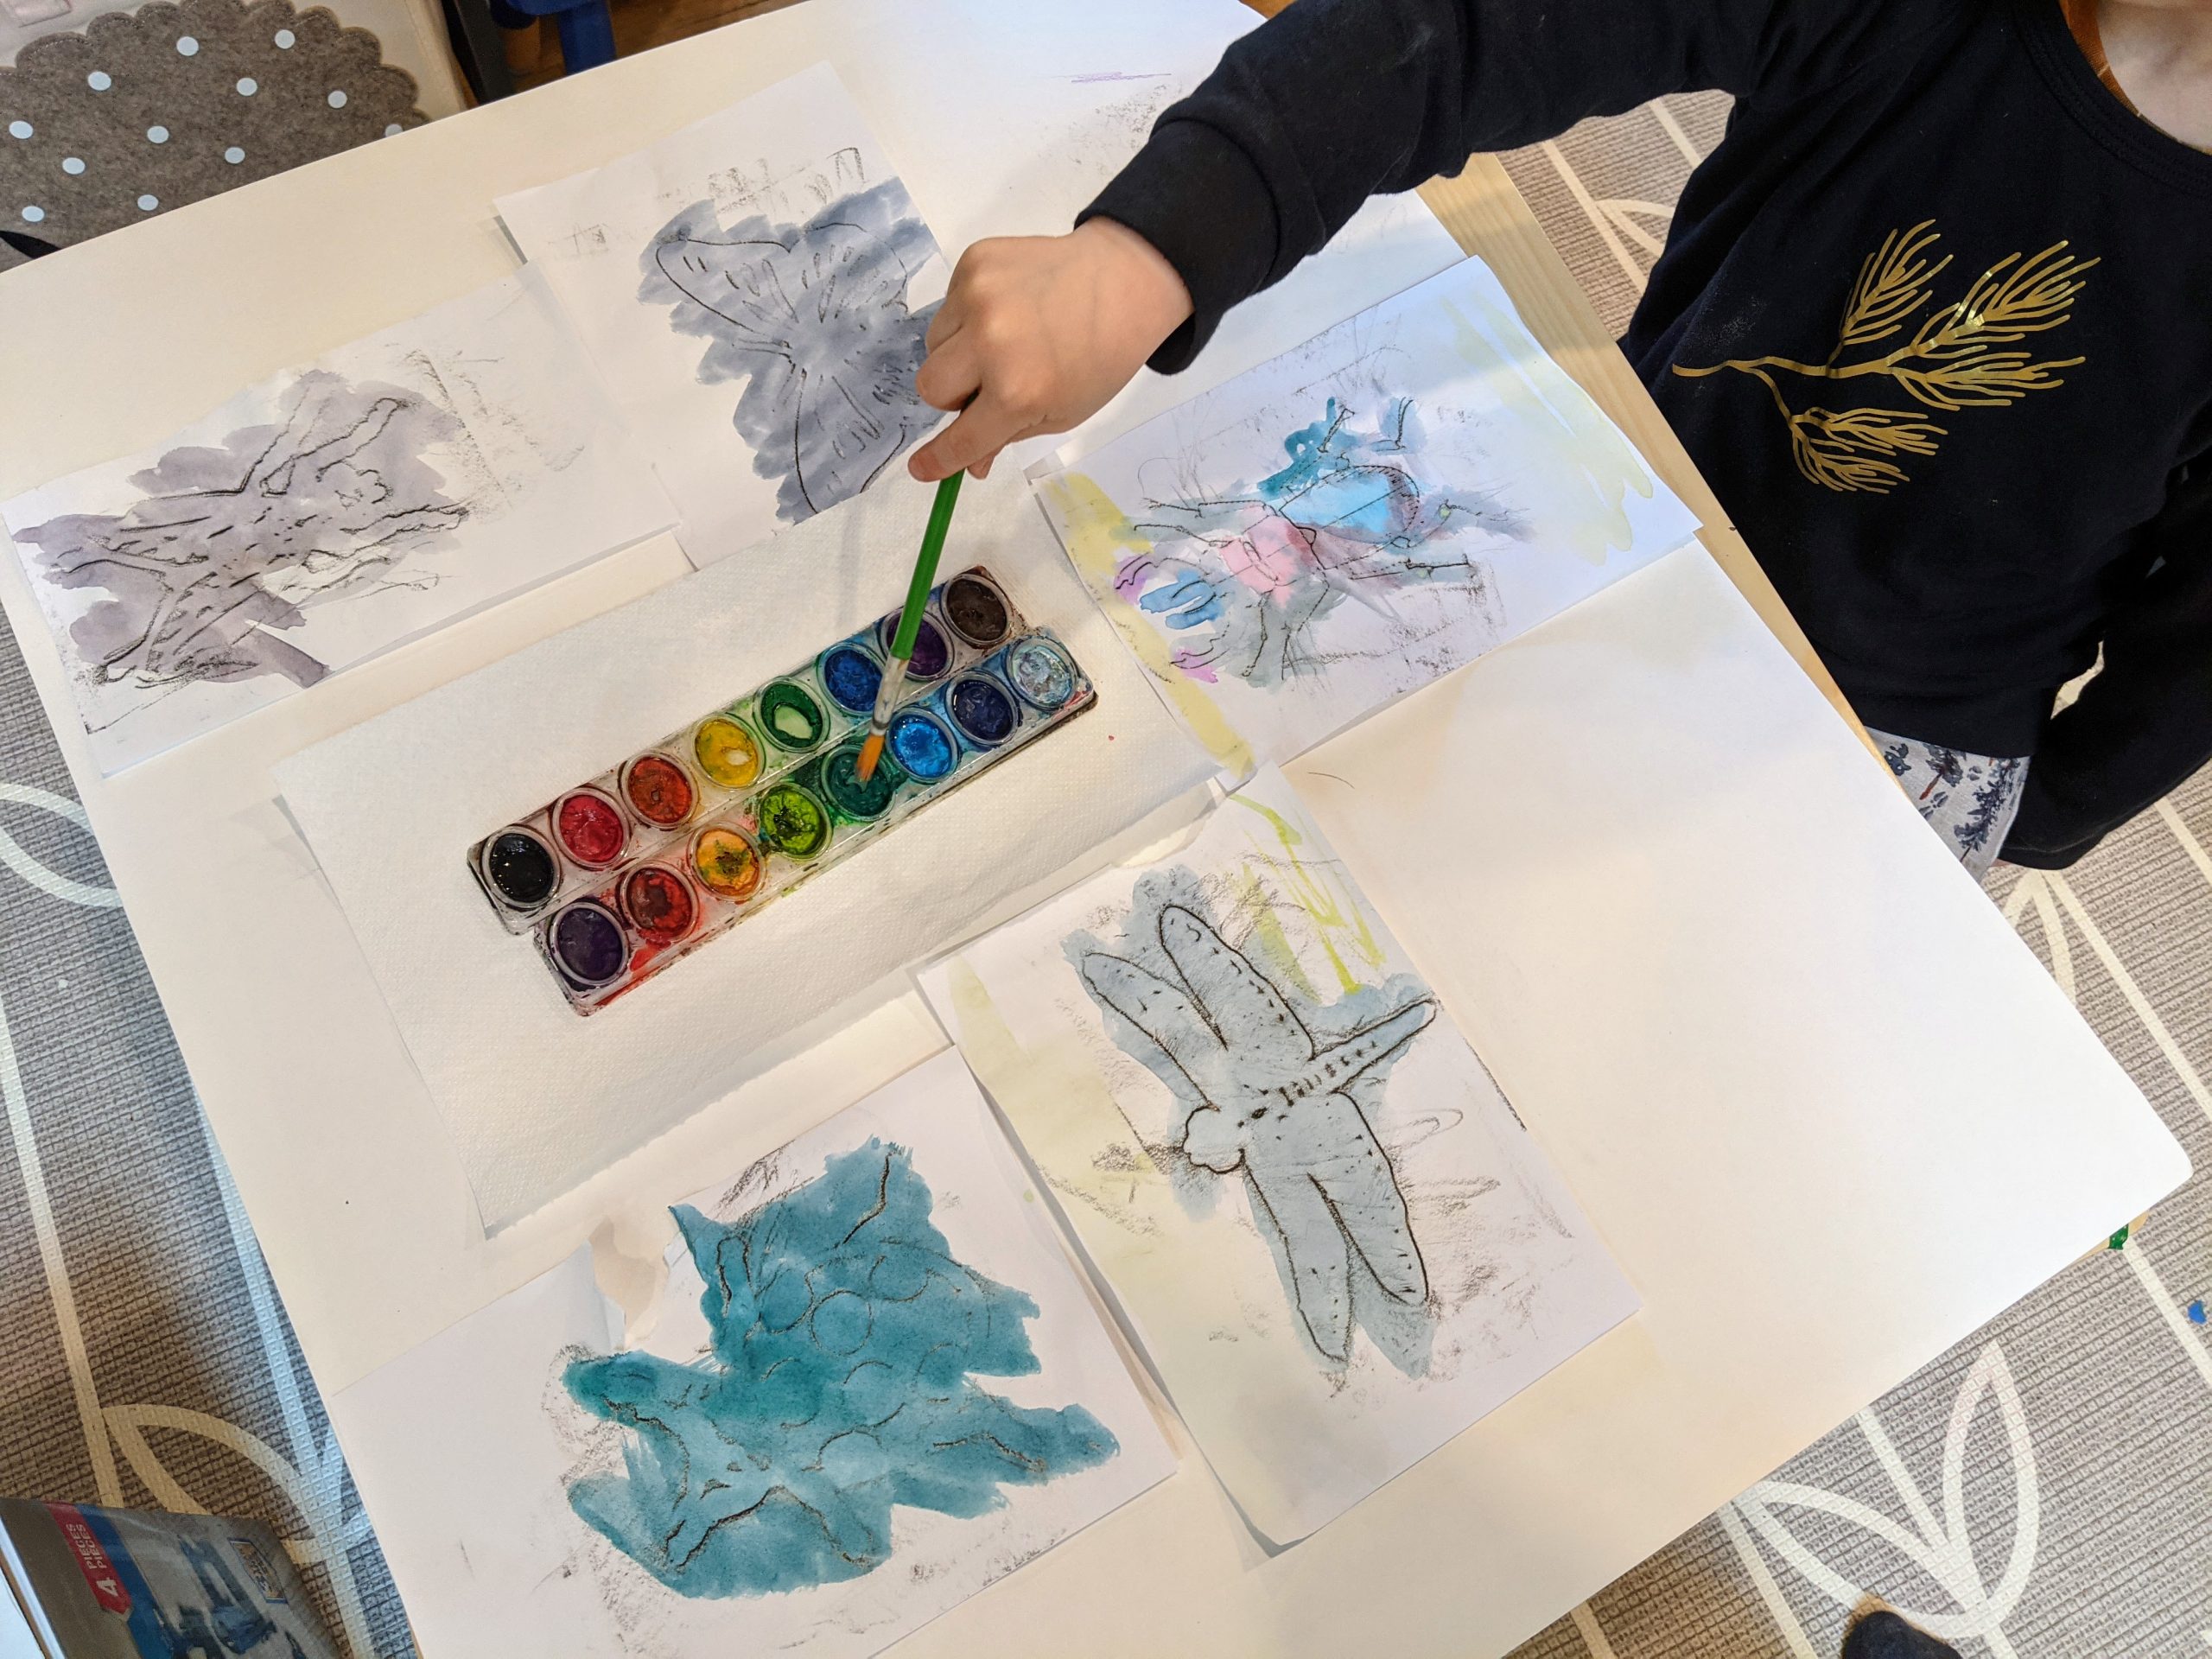
Finally, everyone had the chance to dip into the watercolour paints and create some beautiful artwork to include in DIY love bug cards for their friends and family.
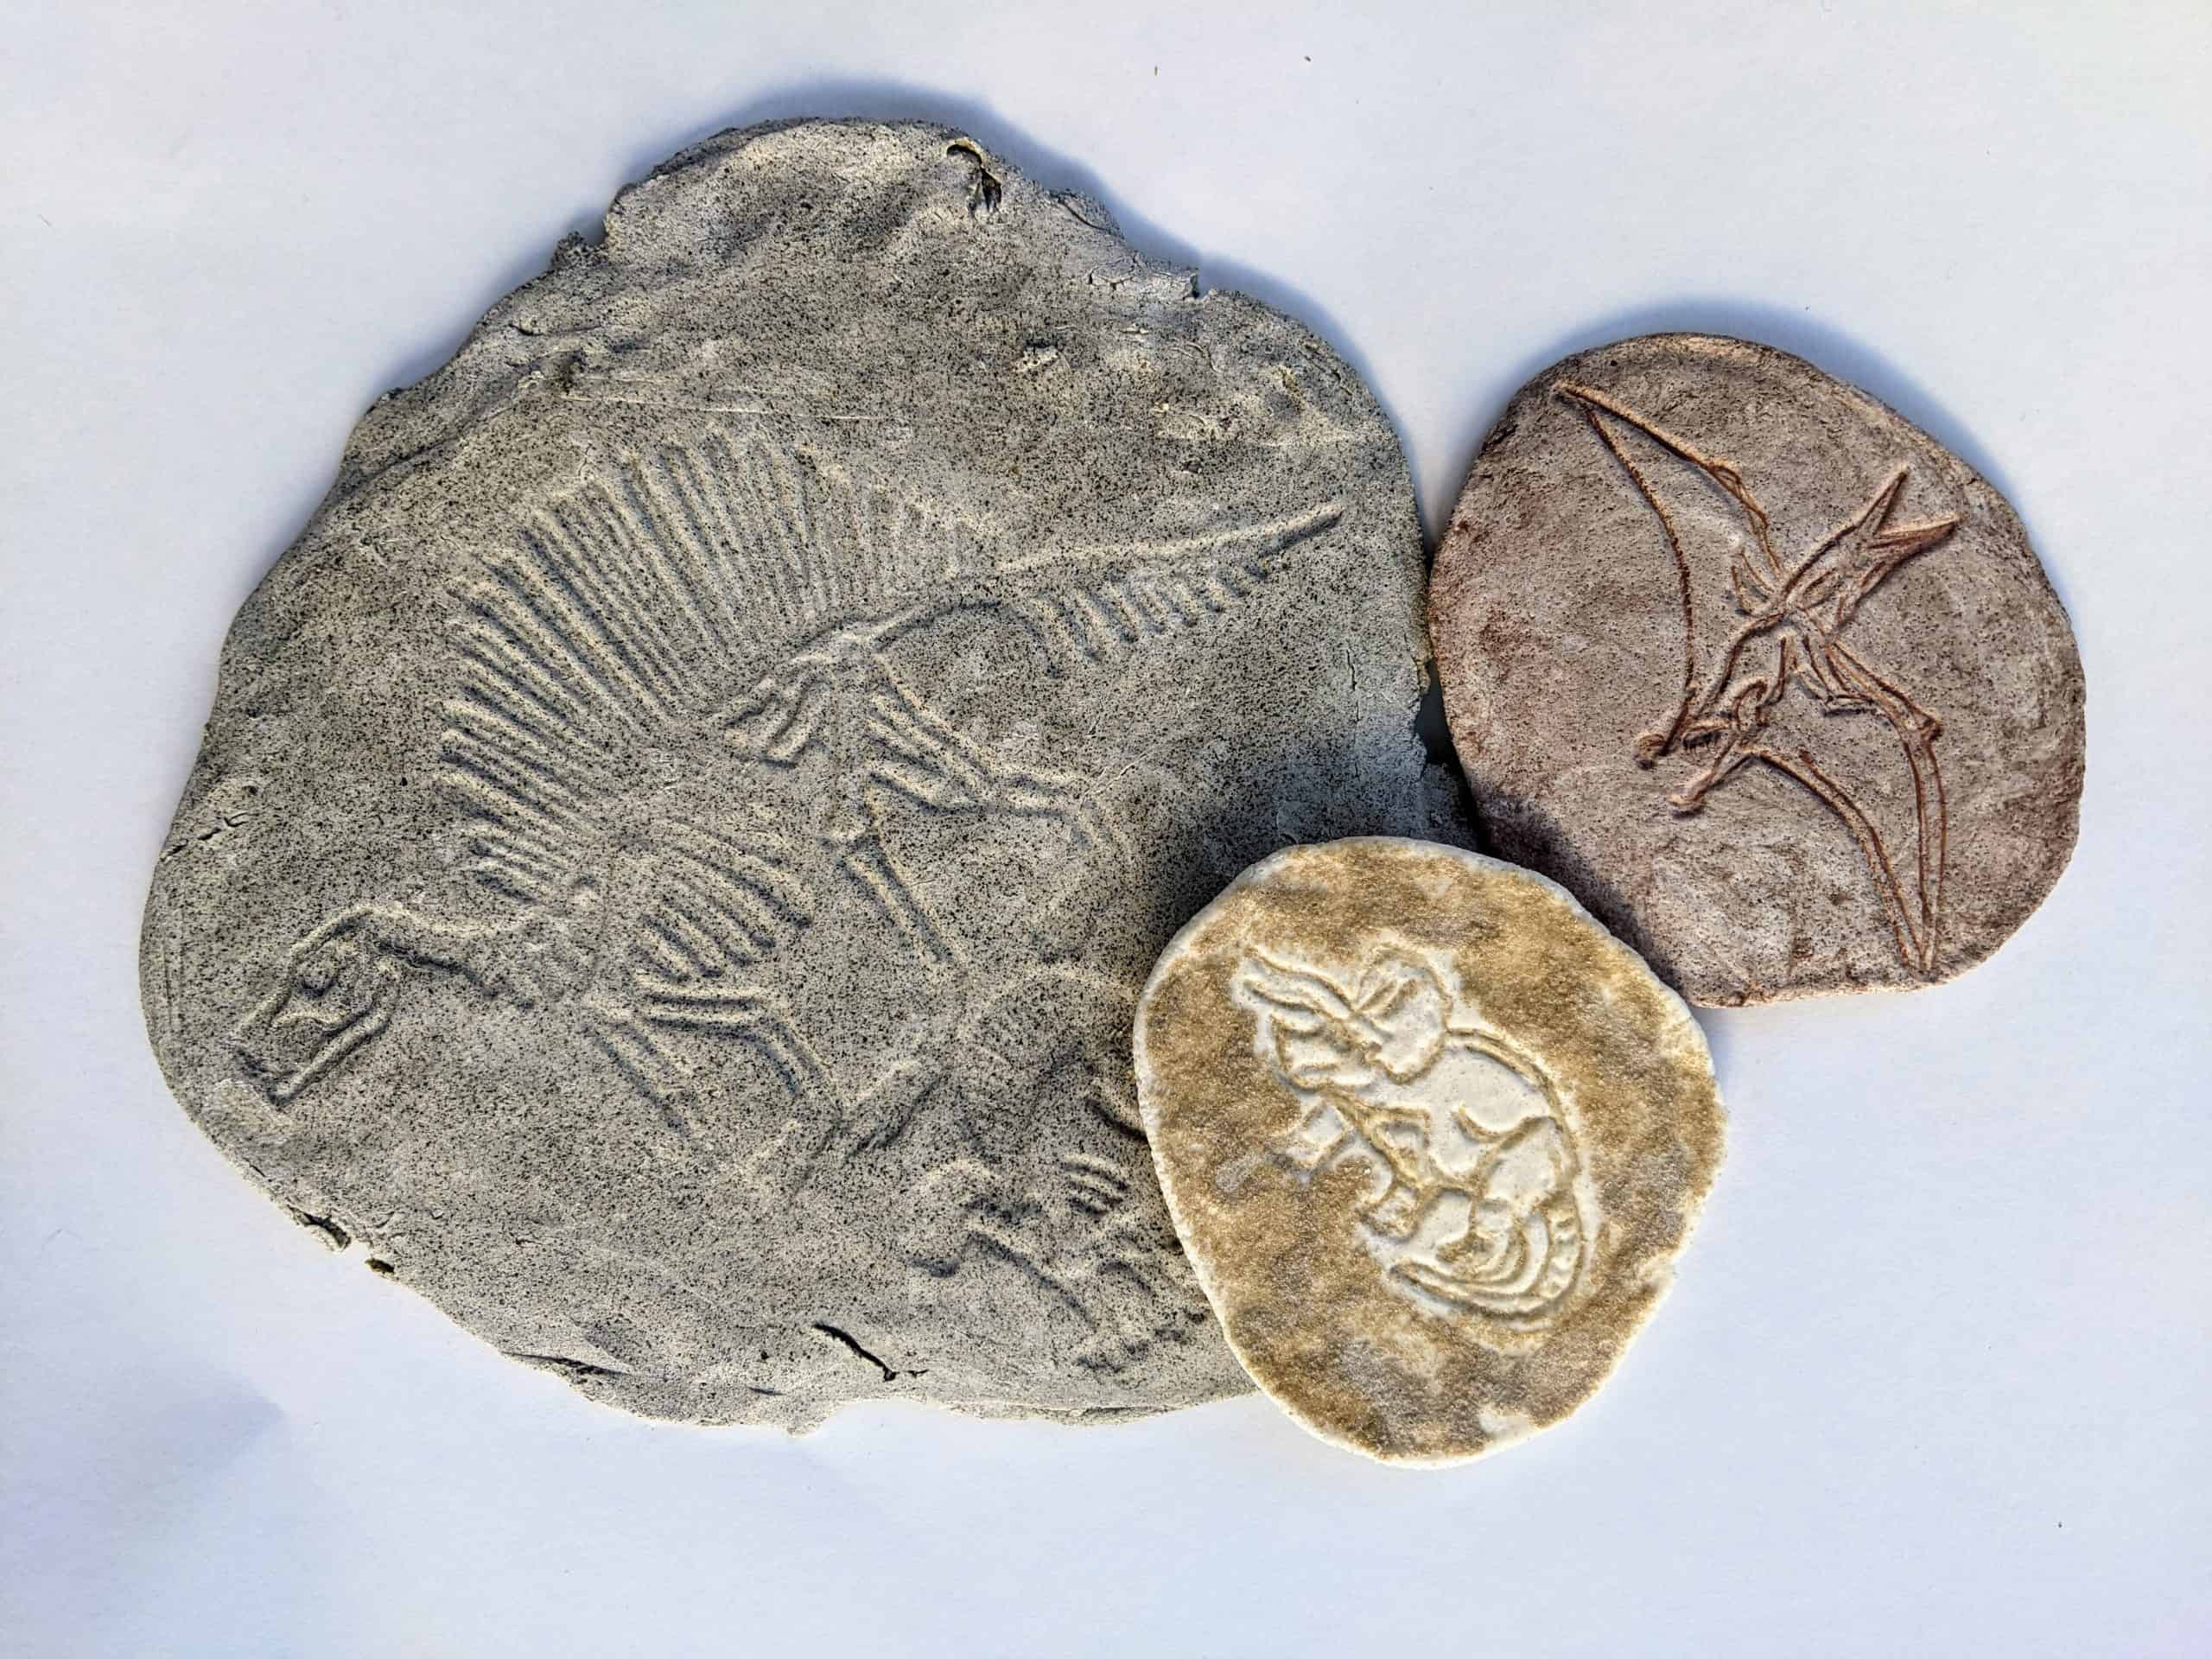
With spring break around the corner, we figured why stop at one rubbing plate activity! Next up we decided to make fossils and then enjoy burying them & discovering them over and over again.
Making Dinosaur fossils
We started out making a basic salt dough recipe.
SALT DOUGH RECIPE
Making salt dough at home or in the classroom is as easy as combining three pantry staples together into a dough in a recipe that small children can help make.
2 cups all purpose flour
1 cup salt
1 cup cold water
*clean sand, food colouring or tempera paint for adding realistic texture and colour
- Step 1
Mix flour and salt together in a bowl. Slowly mix water, a few tablespoons at a time, into flour mixture until dough is smooth and easy to handle. Knead the dough for 10 minutes and let rest for 20 minutes. - Step 2
Preheat oven to 250 degrees F (120 degrees C). - Step 3
Form dough into desired shapes and arrange on a baking sheet. - Step 4
- Bake in the preheated oven until dry and hard, about 2 hours. Allow to cool completely.**if you don’t have an oven, they can be left over night to dry in the open air.
What are fossils?
There aren’t many young children who aren’t drawn to all things dinosaur at some point. In doing this activity with young learners, it is a great chance to explain fossil basics. Fossils are the remains or traces of plants and animals that lived long ago. Fossils give scientists clues about the past. For this reason, fossils are important to palaeontology, or the study of prehistoric life. Most fossils are found in the earth that once lay underwater.
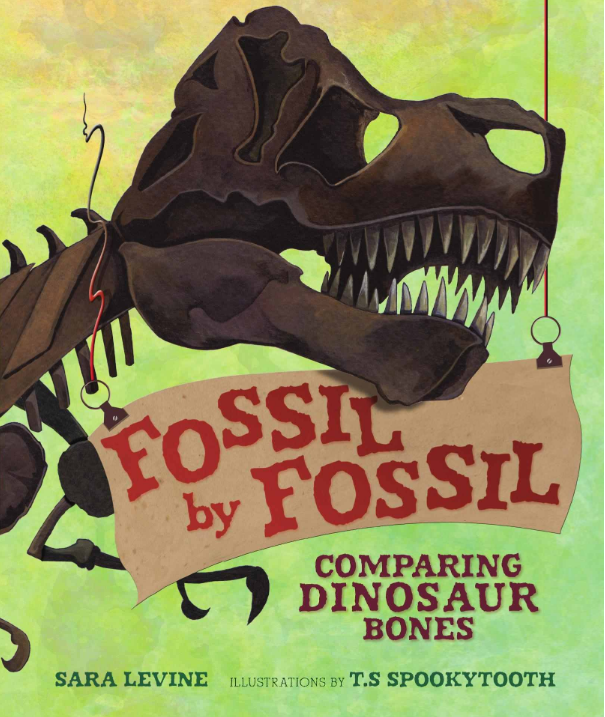
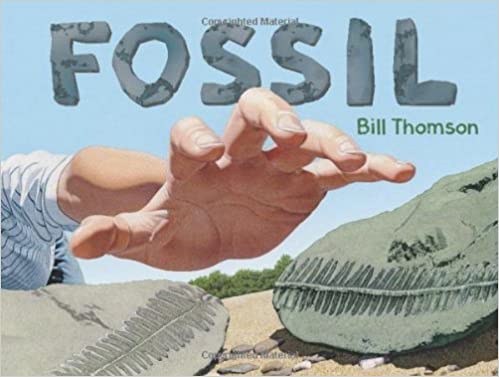
Of course, there are a few great books out there for preschoolers, kindergarteners and early elementary school students.
How to make your fossils look realistic
Enjoy experimenting with adding a small amount of clean sand or pea gravel to your wet salt dough mix.
You could also wait until you press your dinosaur rubbing plates into the wet dough and then sprinkle sand around the shape. Finally, you could add a bit of colour using food colour or tempera paint to the salt dough mix to make it look a bit more like clay. It is hard to go wrong with this fun and easy classroom project.
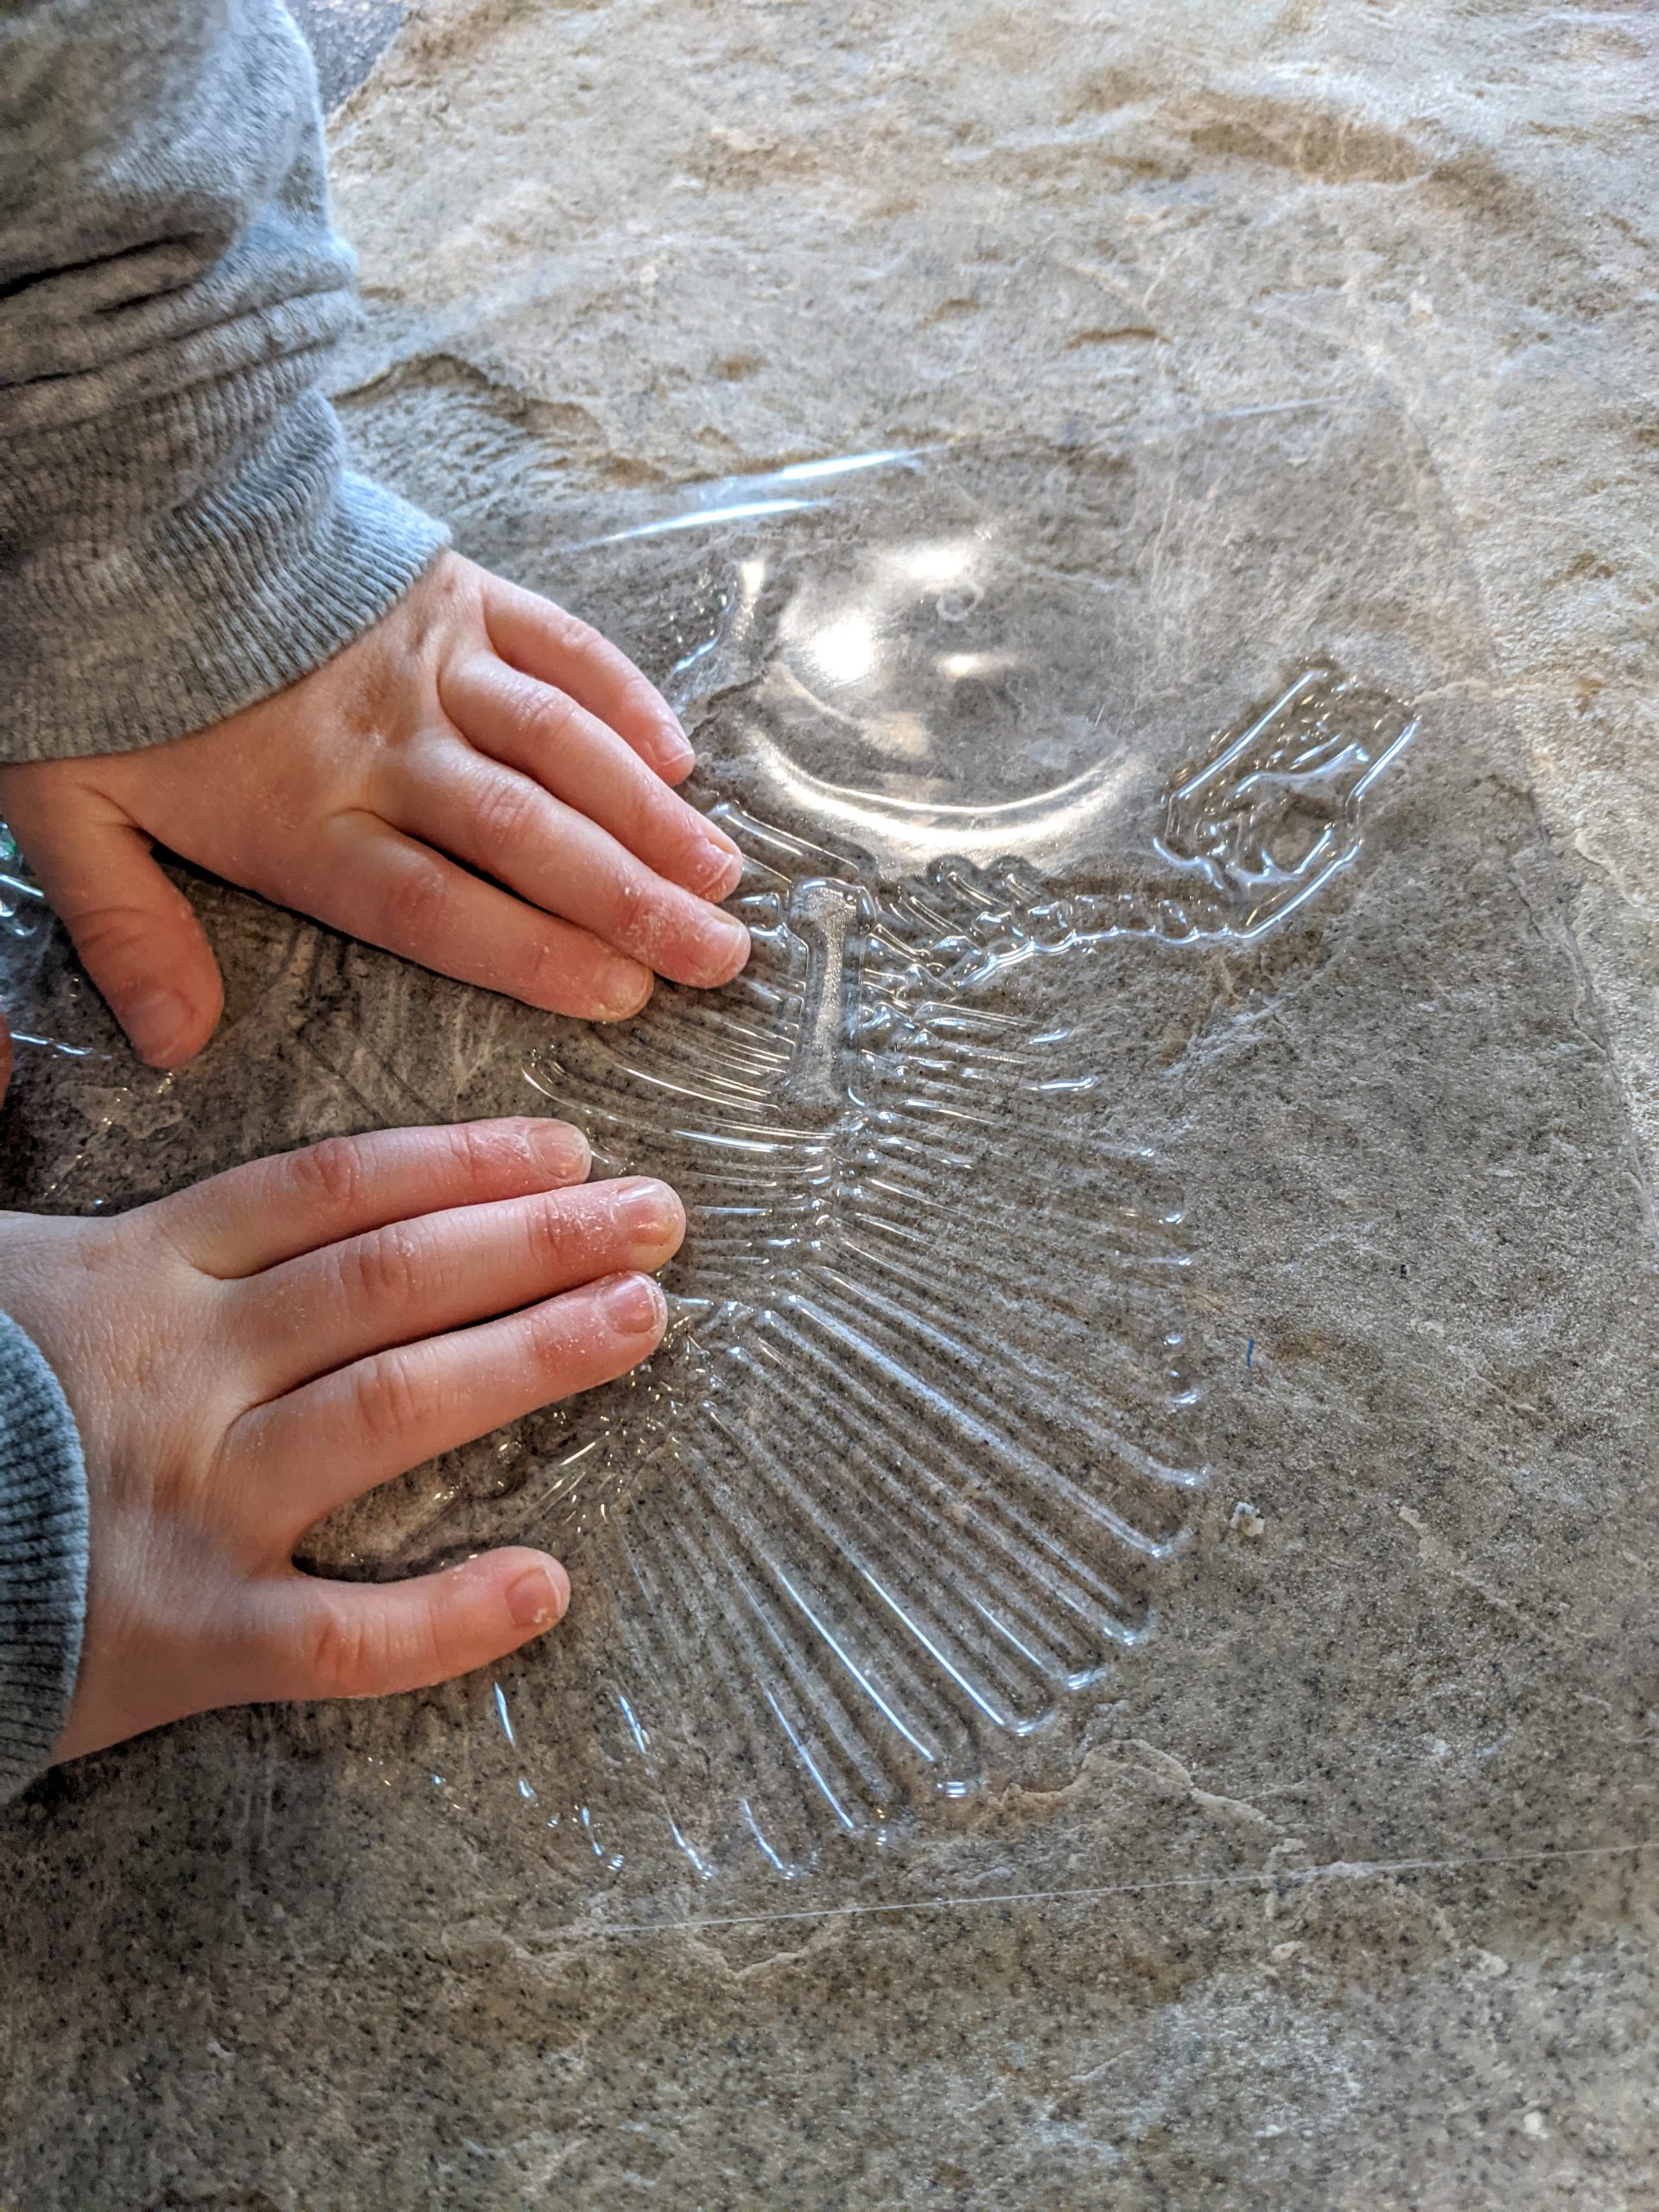 On a sunny day, you can take your fossils out to a local park and bury them and have fun watching the children discover them using brushes, shovels and rakes like tiny palaeontologists. A sensory bin filled with sand, grains of rice or beans is also a great place to bury them.
 We hope you find hours of fun and enjoy discovering new ways to enjoy your rubbing plates. If you’re looking to extend your collection of open-ended play materials, come and check out our collection here. Happy crafting!

